Support Raspberry Pi Model A/B/B+, Pi 2 and Raspberry Pi 4, 3, 3b+.
Accommodate up to four 5MP or 8MP Raspberry Pi cameras on a multi camera adapter board.
All camera ports are FFC (flexible flat cable) connectors, Demo: youtu.be/DRIeM5uMy0I
Cameras work in sequential, not simultaneously. High resolution still image photography demo
Note: No mixing of 5MP and 8MP cameras is allowed. Low resolution, low frame rate video surveillance demo
with 4 cameras
Product description
Compared to previous multi-camera adapter module which can only support 5MP RPI cameras, the new multi-camera adapter module V2.1 is designed for connecting maximum four 5MP or 8MP camera to a single CSI camera port on a Raspberry Pi board. Considering that the high-speed CSI camera MIPI signal integrity is sensitive to a long cable connection, this adapter board does not support stacking and can only connect 4 cameras at maximum. Because It covers most of the use cases like 360-degree view photography and surveillance, adding more cameras will degrading the camera performance.
The previous model work with Raspbian 9.8 and backward, and does NOT work with Raspbian 9.9 and onward, so this model is out to tackle this issue.
Please note that Raspberry Pi multi-camera adapter board is a nascent product that may have some stability issues and limitations because of the cable’s signal integrity and RPi's closed source video core libraries, so use it at your own risk.
Features
Accommodate 4 Raspberry Pi cameras on a single RPi board
Support 5MP OV5647 or 8MP IMX219 camera, no mixing allowed
3 GPIOs required for multiplexing
Cameras work in sequential, not simultaneously
Low resolution, low frame rate video surveillance demo with 4 cameras
High resolution still image photography demo
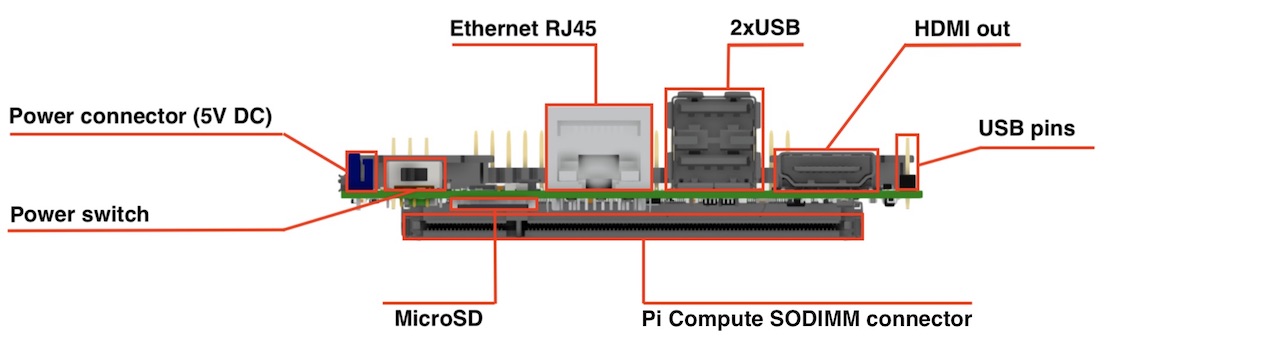
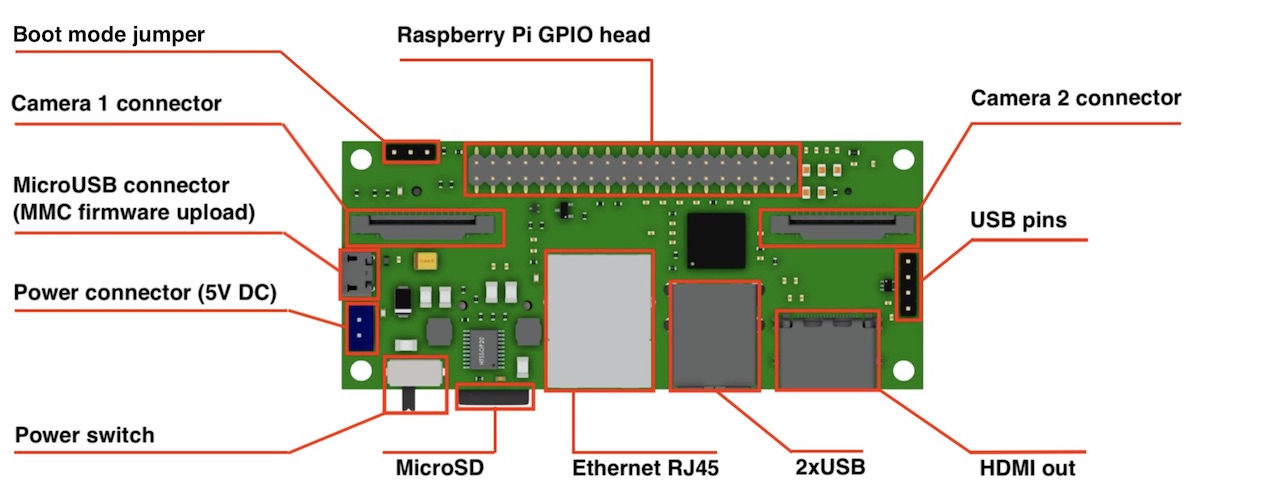
Dimensions: 90x40 mm Camera: 2 x CSI 15 lanes cable GPIO: 40 classic Raspberry PI GPIO USB: 2 x USB type A, 1 USB on a pins Ethernet: RJ45 Storage: Micro SD (for CM3 Lite) Monitor: HDMI out Power: 5V DC Supported Raspberry Pi: Raspberry Pi Compute Module 3, Raspberry Pi CM 3 Lite, Raspberry Pi CM 1 Supported cameras: Raspberry Pi camera OV5647, Raspberry Pi camera Sony IMX 237, HDMI In (single mode) Firmware update: MicroUSB connector Power switch: Yes! No more connect-disconnect MicroUSB cable for power reboot! Status: we have fully tested ready-to-production samples
That’s all that I wanted to cover today. If you have any questions I will be glad to answer.
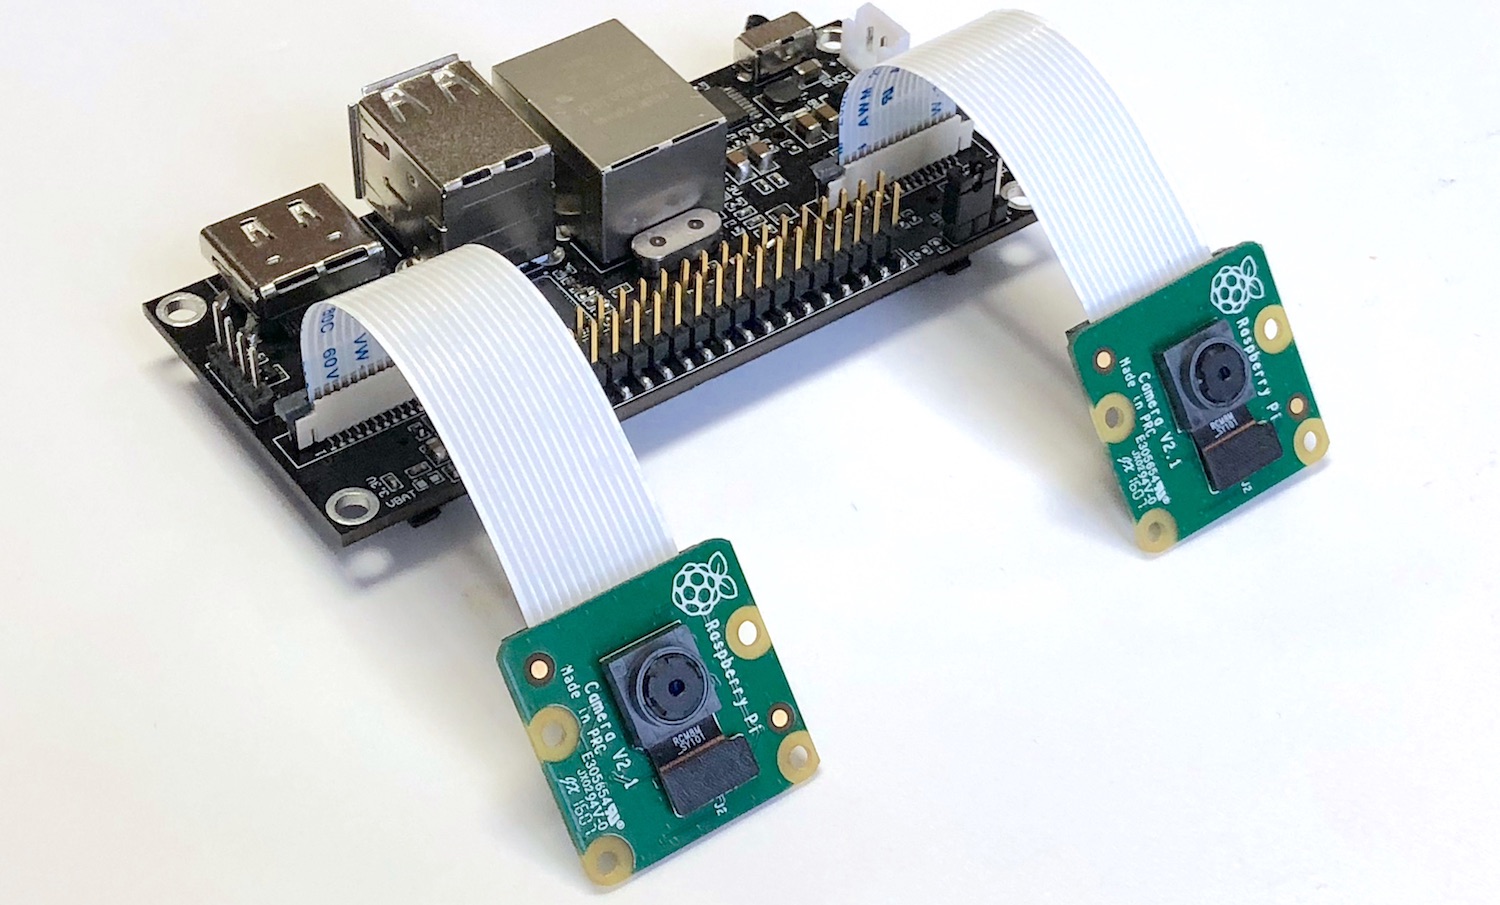
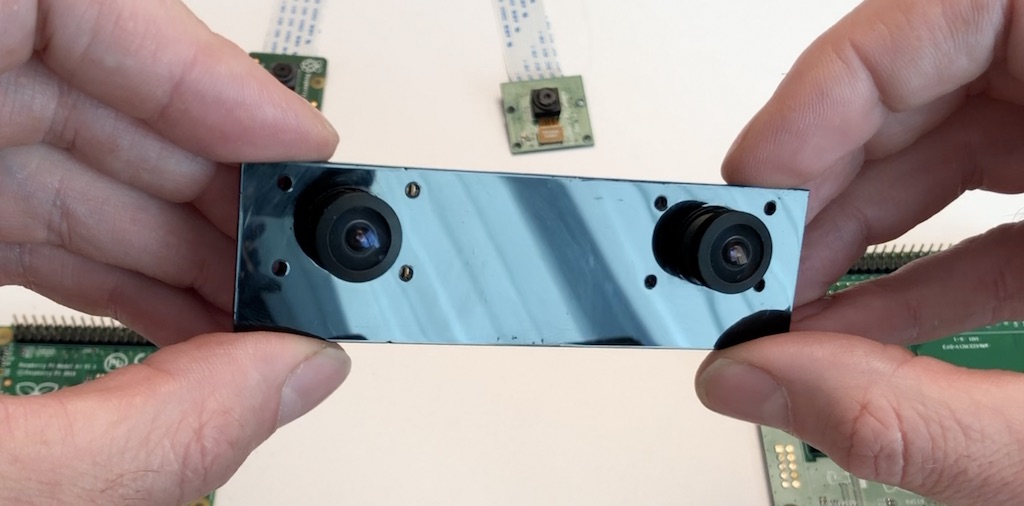
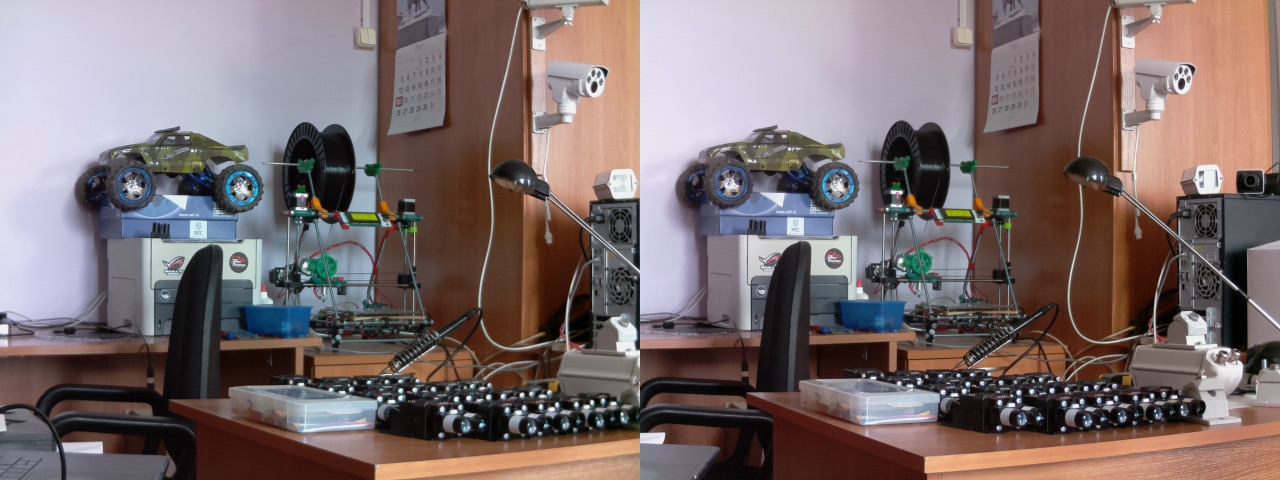
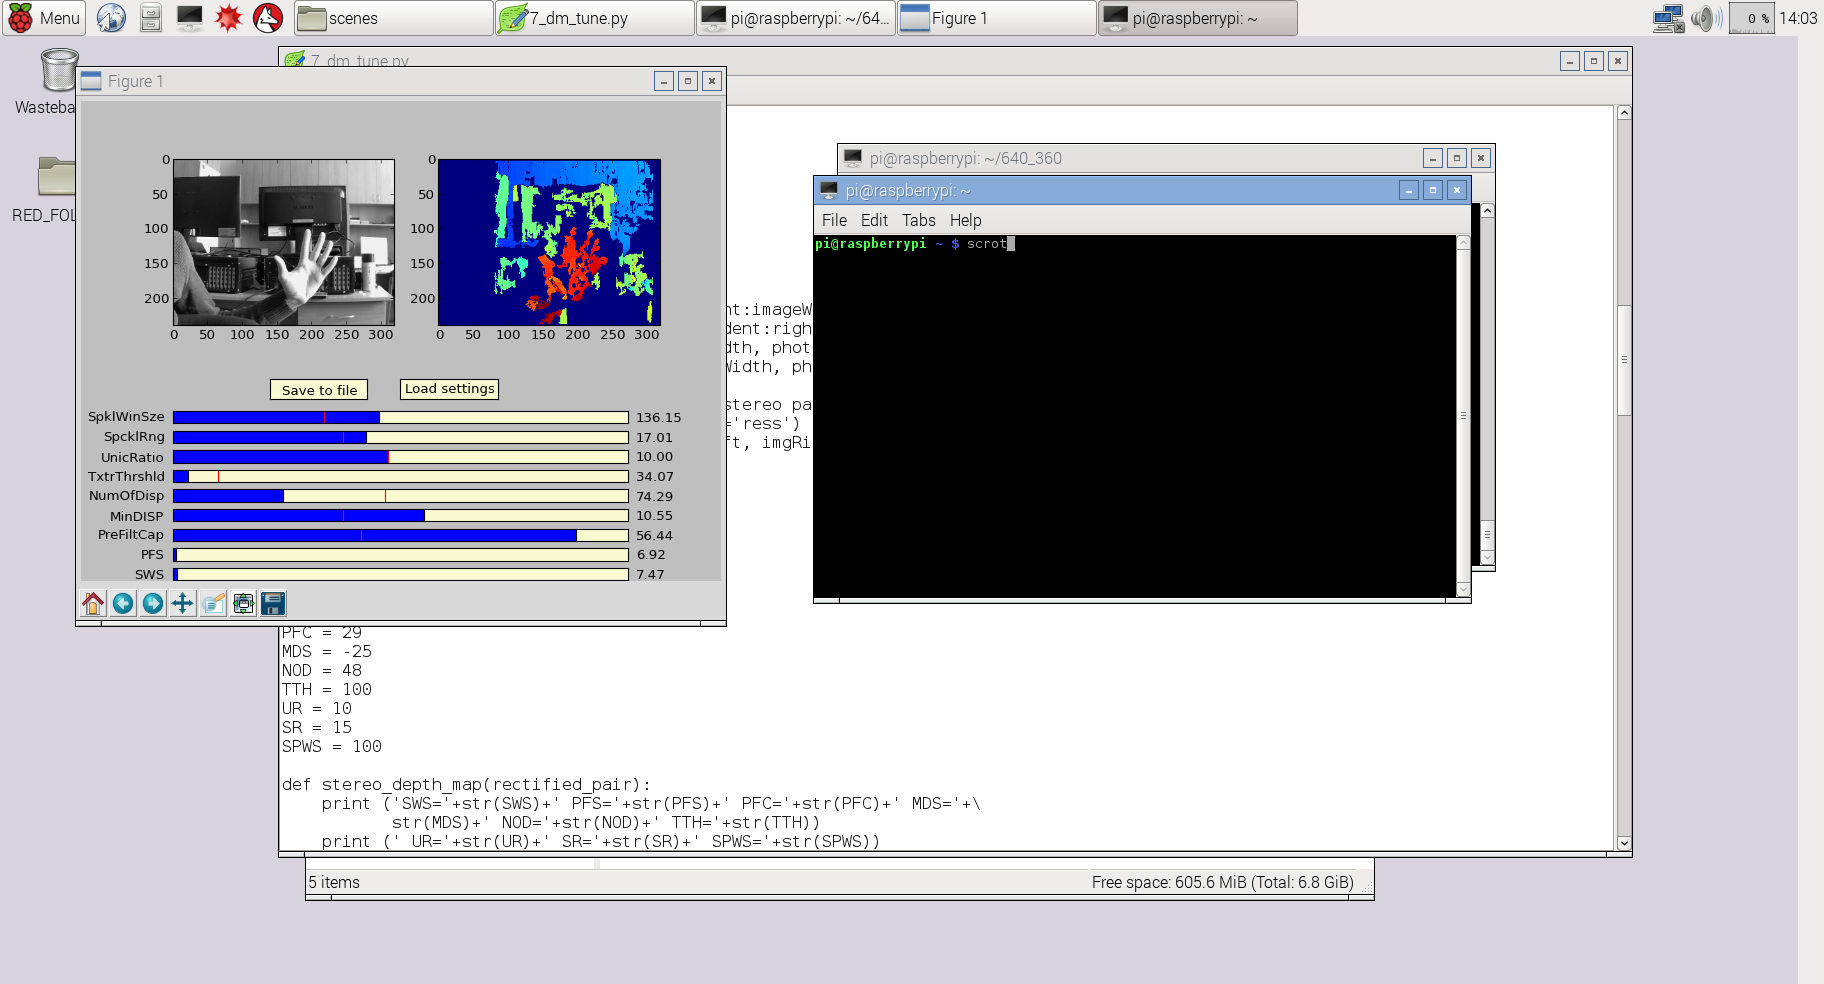
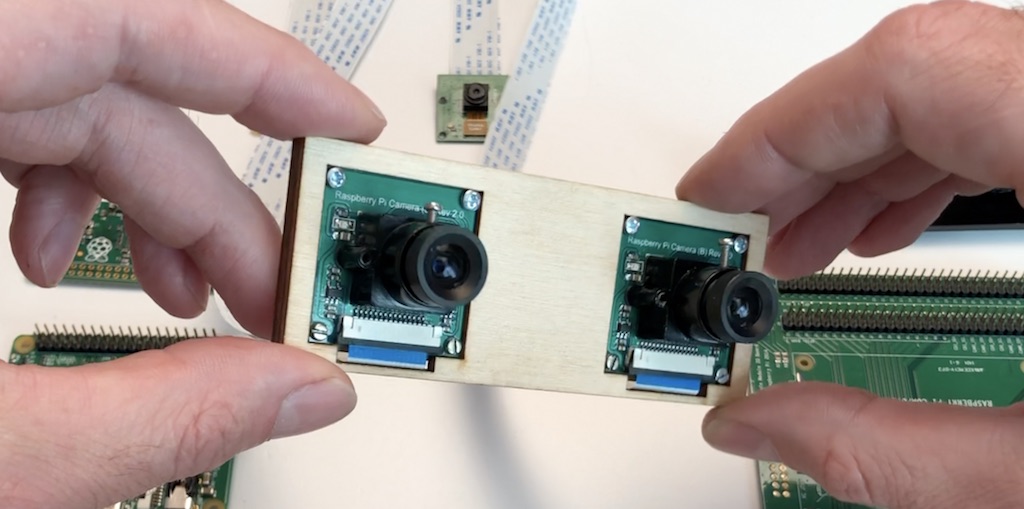
Compute Module 3 for playing with stereo video and OpenCV. It could be interesting for those who study computer vision or make drones and robots (3D FPV).
It works with a stock Raspbian, you only need to put a dtblob.bin file to a boot partition for enabling second camera. It means you can use raspivid, raspistill and other traditional tools for work with pictures and video.
JFYI stereo mode supported in Raspbian from 2014, you can read implementation story on Raspberry forum.
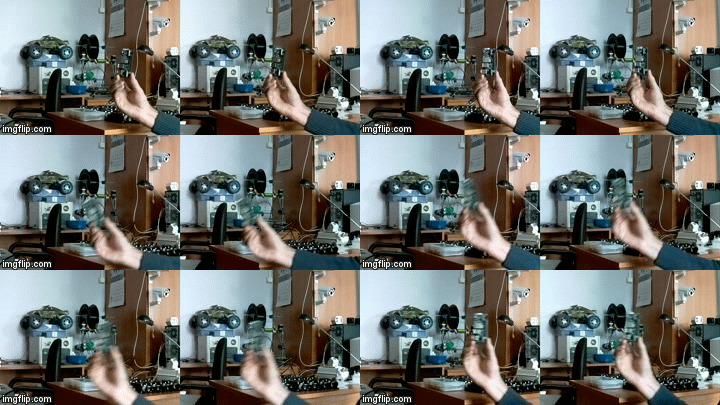
Before diving into the technical details let me show you some real work examples.
This is a really cool site if you can read Mandarin or have the google translator plugin that will make it english.
Anyhow I just stumbled on this when researching streaming Live 360VR for the Qoocam. I assume there is a big lag in it.
What is Huya Live
Huya live broadcast is a barrage interactive live broadcast platform that young people like. It mainly focuses on interactive live broadcast of games, and continues to introduce a variety of live broadcast content, such as e-sports live broadcast, outdoor live broadcast, entertainment interactive live broadcast, etc., to provide users with quality live broadcast viewing Experience. At present, Huya Live is supported by professional e-sports teams 4AM, TYLOO, 619, YTG, 1246, and well-known popular anchors Wei Shen, Miss, Uzi, Sao Nan, etc. Uninterrupted throughout the year, continue to provide players with a wonderful live broadcast feast!
How to watch live games on Huya Live?
1. Log in to www.huya.com with a browser on your computer , watch live chatter on the big screen, and enjoy a lively interactive feeling.
2, mobile phone download eye teeth live APP , anytime, anywhere, want to see, wonderful live in your palm.
This VR watch live, Watch panorama live.
How do you conveniently get this in to your VR headset I have no idea.
Get a pilot’s-eye view from a remote-controlled aircraft
Photo: Zalman Joffe
The gaming world may soon get a shake-up with the introduction of the Oculus Rift, a 3-D head-mounted display that promises to be compact, comfortable, and reasonably priced. Reading about the DIY origins of this gadget got me wondering how hard it would be to cobble together something similar. Because I’m not a gamer, though, I didn’t immediately start investigating the possibility. Then I started to wonder whether a 3-D display could enhance a pastime I do enjoy—flying radio-controlled model airplanes outfitted with video cameras so they can be piloted in a mode known as first-person view (FPV).
I soon discovered a company offering this very thing through an Indiegogo campaign. The folks at EMR Laboratories, in Waterloo, Ont., Canada, have come up with a device they call Transporter3D. It can accept two analog video signals and combine them into a single digital output that can be displayed in 3-D on the Oculus Rift. Combined with EMR Laboratories’ stereo video camera, which goes by the much less evocative name 3D Cam FPV, the Transporter3D can provide model-aircraft owners with stereoscopic FPV capabilities.
All this seemed intriguing, but it wasn’t clear to me that a sense of depth would add significantly to the fun of FPV flying. And I didn’t want to sink the US $1000 or so it would cost to purchase the 3D Cam FPV, the Transporter3D, and an Oculus Rift developer kit to find out.
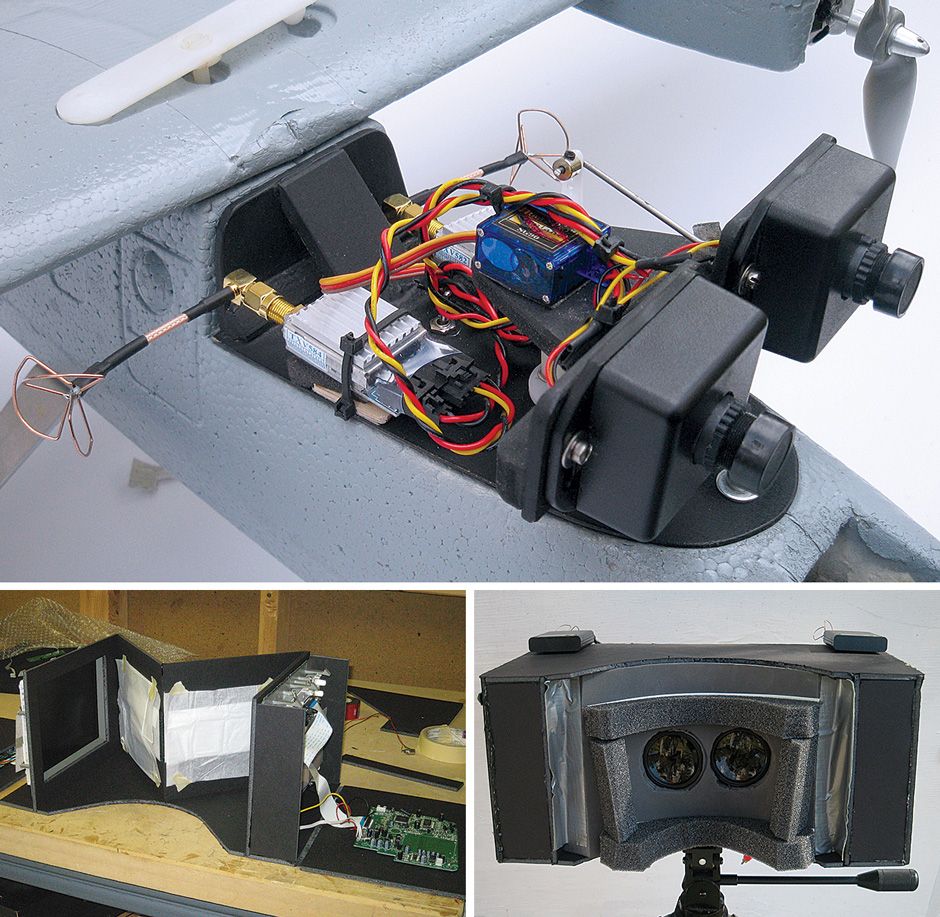
Photos: David Schneider (3)AIR SHOW: I mounted two video cameras on my plane to provide stereoscopic vision, each with its own transmitter [top]. Images were displayed on two screens in the headset [left] and then brought via mirrors to the eyepieces [above].
So to test the waters, I decided to cobble together a 3-D FPV setup on the cheap. In the end, I was able to do it for less than $250 in parts, although I don’t suppose the results I obtained were as pleasing as those you could get using an Oculus Rift with the EMR Laboratories’ gear.
Outfitting a model airplane with stereo vision was straightforward, if a little ungainly: I simply bought two identical cameras and two 5.8-gigahertz video transmitters and mounted them to the front of the plane. (Important note: To operate these transmitters legally in the United States, I needed my amateur radio license, so check your national regulations.) I attached the cameras to a home-brew pan-and-tilt mechanism, setting the separation between the cameras about equal to the distance between most people’s eyeballs.
The real challenge was how to view the two video streams stereoscopically on the ground. My first instinct was to build a mirror stereoscope along the lines of the equipment used to view aerial photos. I went ahead and did that, using four front-surface mirrors I had bought for a song from Surplus Shed and two 7-inch LCD screens that I purchased for $10 apiece on eBay.
These displays, originally intended for viewing movies from the backseat of a car, had been built into automobile headrests, but they were easy to extract. They offered decent resolution (640 by 480 pixels) and a 4:3 aspect ratio, which matched my video cameras.
But once I had my stereoscope jiggered together, I was disappointed. The long optical path created by the four mirrors made for a lot of distance between my eyes and the screens. This significantly reduced the amount of coverage across my field of view, so the setup didn’t feel at all immersive.
I went back to the drawing board and, after some poking around, discovered that I could set up LCD screens to flip the video output, either from left to right or up and down. So I redesigned my viewer, taking advantage of the LCD controls to flip the video images and eliminate two mirrors from my design. The remaining two mirrors, one in front of each eye, then flopped the views back to normal. This tactic reduced the optical distance between my eyes and the screens so that they covered much more of my field of view.
The rub was that the screens were now too close to focus on, especially for someone suffering middle-age farsightedness. The solution was to do exactly what’s done in the Oculus Rift: add lenses. At first I tried using the strongest reading glasses I could buy at the drugstore, but that wasn’t adequate. A couple of 3 x magnifying glasses ($4 each from Amazon) did the trick, however.
My viewer looks a bit like one of those early 20th-century cabinet stereoscopes that allowed users to view stereo-image pairs in 3-D. Had I made it out of wood with a nice rubbed finish, it might have resembled a genuine antique. But I just slapped it together using black foam-core board, polyethylene foam, and duct tape.
It’s probably a good thing that I hadn’t invested too much time in the aesthetics, because flying in FPV in 3-D with this viewer turned out to be disappointing compared with watching 2-D video. Although the perception of depth held up for surprisingly distant objects, the limited resolution of my LCD screens, combined with the magnifiers needed to view them, made me feel as though I was looking through a screen door, with the real world now resembling one of the blocky landscapes of Minecraft.
This wasn’t a surprise. Indeed, in reading about the Oculus Rift online, I noticed lots of discussion about “the screen-door effect” and efforts to eliminate it by adding an optically diffusive material in front of its display. The Oculus Rift developer kit provides 640 by 800 pixels per eye, which is better than my home-brew viewer, but the resolution is still too low for universal comfort, it seems.
The consumer version of the Oculus Rift will offer better resolution than the developer prototype, although it’s impossible to know right now whether it will be enough to eliminate the screen-door effect entirely. To my mind, making the world look pixelated takes more away from the experience of FPV flying than the 3-D effect adds. So for the moment, for my FPV flying, I prefer a world that’s flat.
This article originally appeared in print as “The 3-D View From Above.”
Voxelo™ is a Free-Viewpoint Video player for Windows, which enables you to watch full 3D video content of real captured scenes. While traditional 2D video is restricted to the viewpoint of the recording camera, Free-Viewpoint Video allows you to freely choose your viewpoint of the scene during playback.
Three-dimensional TV is expected to be the next revolution in the history of television. We propose a 3D TV system that allows for real-time acquisition, transmission, and 3D display of dynamic scenes. http://people.csail.mit.edu/wojciech
---------- Forwarded message ----------
From: David Abboud
Interview Request
Hi John, Follow us
Global box office revenue from 3D screens recorded over $6.1Billion in 2010, and 2011 will be another record breaking year with blockbuster hits like Transformers 3D, The Smurfs in 3D, Lion King and most recently, Martin Scorsese's Hugo.
Now with Fordela's 3D platfom, companies of any size can securely stream 3D video online with ease. Fordela provides a cloud-based platform that enables you to securely manage and stream your content online today.
John, I'd love to schedule an online web demo and interview with the founder of Fordela. We have some big announcements coming up at CES and we'd like to offer you a sneak peak. Would Tues (12/27) at 1:00pm PST work for you? Or would Thurs (12/28) at 11:00am PDT be better?Regards,David Abboud | Director of Sales | Fordela Corporation900 Kearny St | 5th Floor | San Francisco | California | 94133Direct: (415) 678-5295 | Skype: daveabboud7dabboud@fordela.com | Linkedin
3D Customer Showcase
NVIDIA® relies on the Fordela® Media Management Platform™ to power 3DVisionLive.com, the first and only dedicated, high definition 3D streaming video portal."Working with Fordela to integrate their platform into 3DVisionLive.com has created the world's best place to watch 3D videos on the web. Fordela makes it possible for us to quickly and easily manage and deliver high-quality, premium 3D content to all of our 3D Vision users around the world."-Jon Barad, Senior Business Development Manager at NVIDIA
Half a century after humankind entered outer space, an ESA-developed camera produced live-streaming 3D images for the first time in the history of space travel – showing the International Space Station like never before.
An ESA-developed camera transmitted live-streaming 3D images for the first time in the history of space travel. On 6 August, NASA astronaut Ron Garan operated the Erasmus Recording Binocular (ERB-2) camera in Europe's Columbus laboratory, showing the International Space Station as never before in high-definition quality . While talking about the work on board the Station, he enhances the sense of depth and presence by playing with an inflatable Earth globe. http://www.esa.int/esaCP/SEMWLEOT9RG_index_0.html
Use red/blue 3D glasses to experience the full 3D experience of this clip.